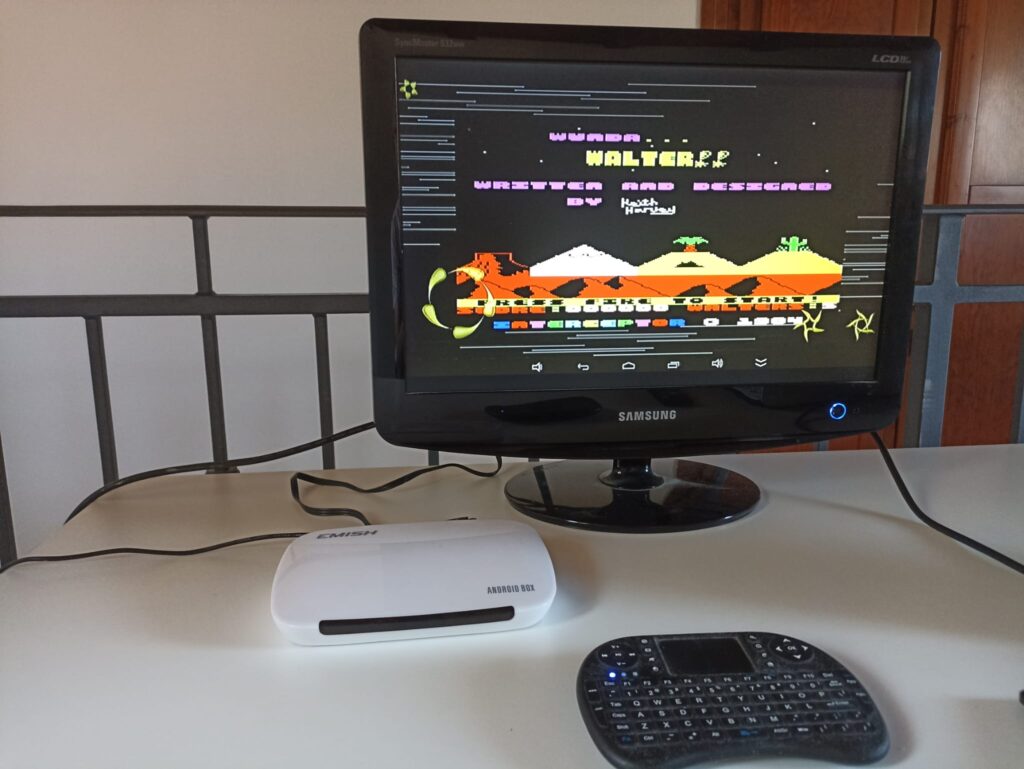
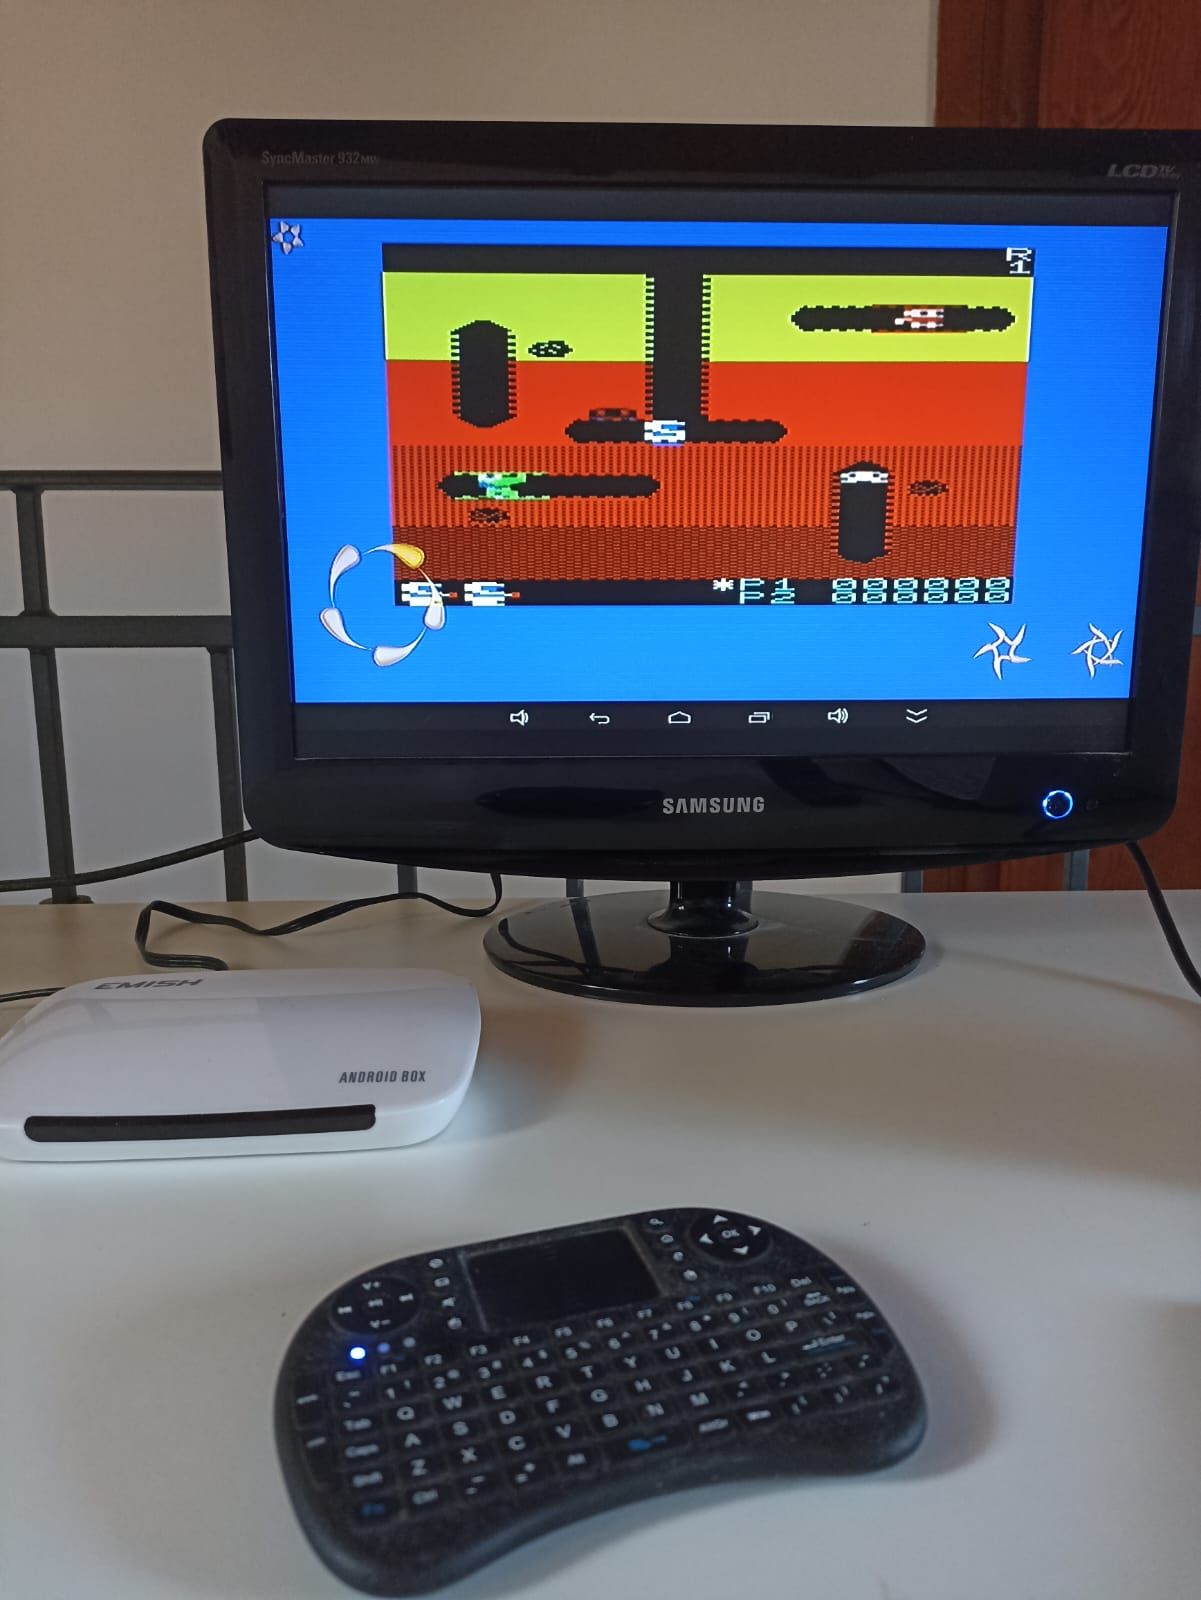
I had this old Android 4.5 box and found a way to use it again. This little VIC-20 emulator will let you run everything on your old Android device… guaranteed!
Installing the emulator
This is a VICE emulator designed to run on Android 2.2 and up. I found it on a site named apkcombo but you can download it also from here.
In my device I had to browse inside the file system in order to find the .apk file, clicked it, and confirmed the installation. In your own device, you might need to adjust the security settings to allow installation from non-verified sources (downloaded files).
Starting the emulated VIC
 Once you start the emulator, you are presented a splash screen with the producer’s logo for a few seconds. In the upper portion of the screen, there is a button bar name “CHANGE DEVICE CONFIGURATION” which will lead you to a few settings that control the emulator appearence on your specific device. These are not related to VICE so they can be set at startup only.
In the first run, however, you are also presented a one-time choice to decide where the files for VIC emulator will be located (for example: .d64 files of diskette images). I recommend to leave the default. Please take note of where this folder is because you will need to access this location later in order to put diskette files.
The emulator can use a “on-screen keyboard” which is indeed composed by a sort of virtual joystick and two programmable buttons, plus one in the upper left corner opening the real onscreen keyboard. I found this on-screen controls rather clumsy to use on my android box device where I had an external keyboard, but it will be handy on cellular phones whose main input control is the touch screen. The appearence of this on-screen joystick and the mapping of these onscreen buttons can be customised in the “device” settings you can access at startup, I will cover these as the very last point in this tutorial – for the moment do not fiddle with these as you still don’t know what they will be used for.
Once the first fundamental settings are set in the first app launch, you will enter the ordinary VIC-20 basic screen with blinking cursor.
Configuring the emulator
This is where the difficult part is, because there is no apparent way to access the emulator settings. You will remember we covered a few of the main aspects of the VICE emulator in this previous post. We will revisit those concepts.
Now, if you are not happy to type on the unexpanded 3.5K vic 20 screen but want to step further, here is what you typically need to do to enjoy it fully:
- Set up your VIC-20 with more RAM (typically a 24K + 5th block so you can run catridges too)
- Learn how to reset the emulator for restarting
- Set up your virtual diskette reader with a diskette full of good games
- Start games with the common LOAD”*”,8 and RUN commands
- Make sure you can operate the game controls (Joystick?)
- Find a way to quick-start with the above set up already done, next time
The first and most important thing you need to know is, emulator configuration can be opened by using the “back” command on your Android device. This is quite counter-intuitive to me, but I told you as the very first thing so now you know.
I learned later that actually the emulator config is popped up with the F12 key, which I don’t have on any old android device of mine. You may want to remap this key to something handy later.
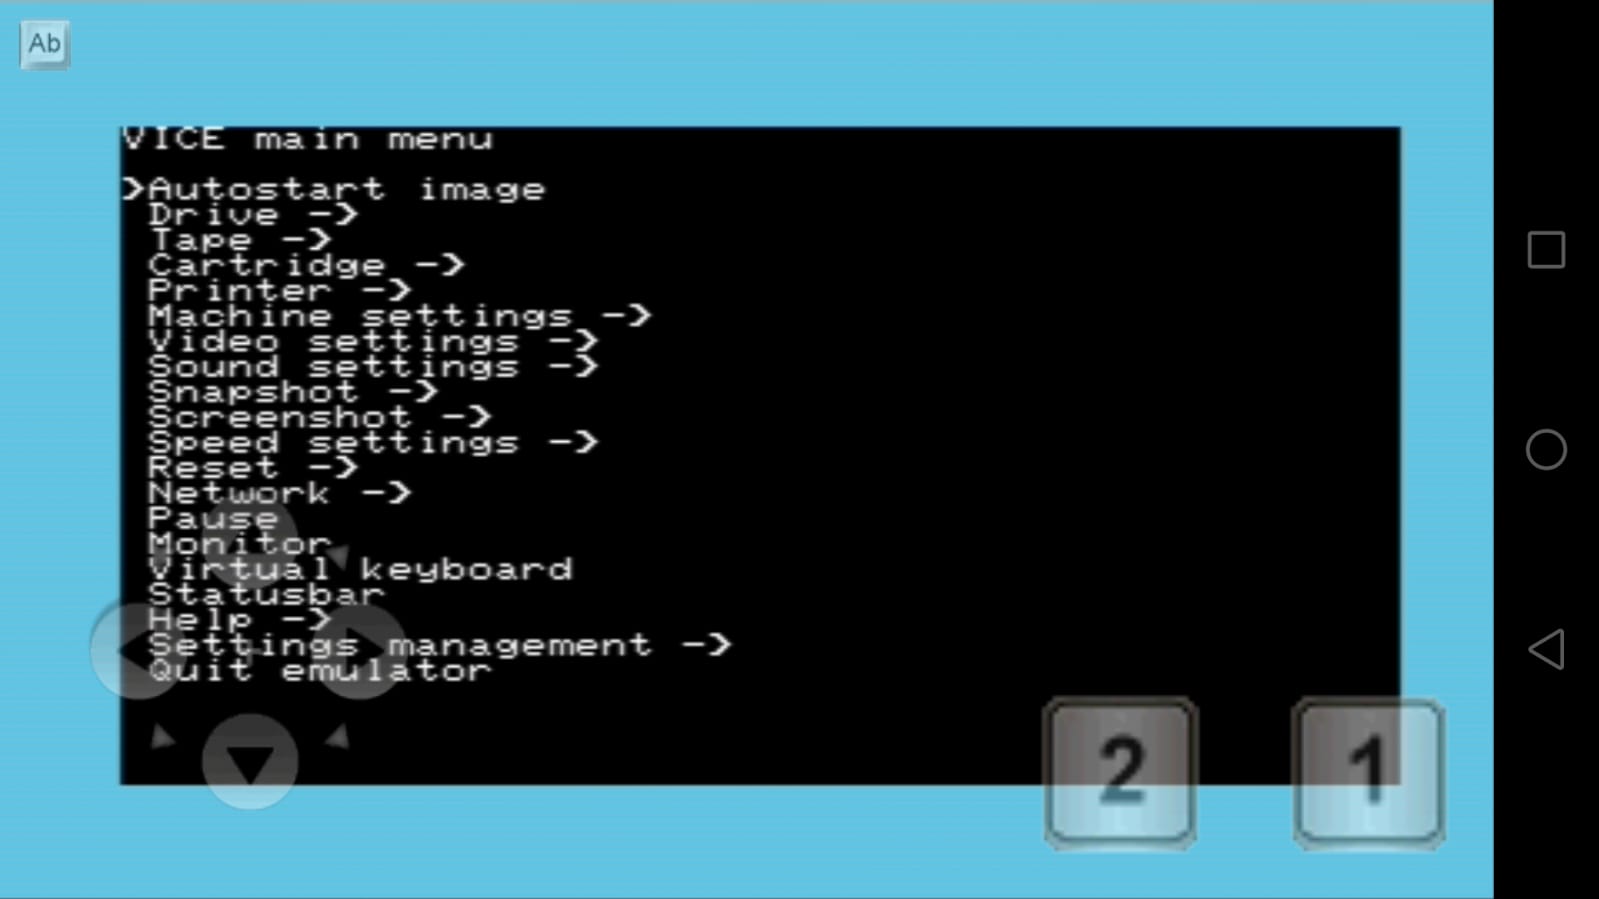 The VICE configuration menu is black with white, commodore-style fonts. In order to navigate it, provided that you have a keyboard:
- up/down arrow: navigates choices
- Enter or (on-screen button n.2): confirms a choice. Sometimes also [right arrow] will work.
- [left arrow] will bring you back to the upper menu level
- ESC (if you’ve got a keyboard plugged) will make the menu disappear
After some time you will get used to it, on cellular phones is more difficult than with an external keyboard, but don’t give up.
Plugging in more RAM
Pop up the VICE menu then:
- Machine settings
- use the block at the bottom to choose one of the “Common configurations” or select memory blocks individually (an asterisk will appear to the side if the memory block is active). For example, 24K + 5th block can be achieved activating blocks 1,2,3 and 5.
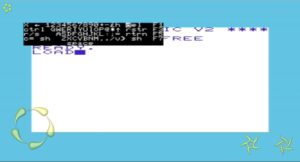
Verify that your new RAM settings come into play by resetting the emulator. So get to the upper level of the menu by using [left arrow], then down until you choose Reset, then Hard.
The emulator should now reset and 28159 BYTES FREE should be readable on the screen.
Setting up a virtual diskette
Now get a virtual diskette image (file with .d64 extension) with good games, I might recommend this collection, and place it into the correct data folder where the emulator expects it to be. You should have noted it from the startup but, if you cannot remember where it was and cannot figure it out, in my case it was:
/storage/emulated/0/Android/data/it.opbyte.vicevic20/files
I was able to copy there the .d64 file by using the Android device’s file explorer tool.
Then, inside the emulator configuration, choose:
Drive > Attach disk image to drive 8
the browser for the correct folder and .d64 file, choose it, and that’s it.
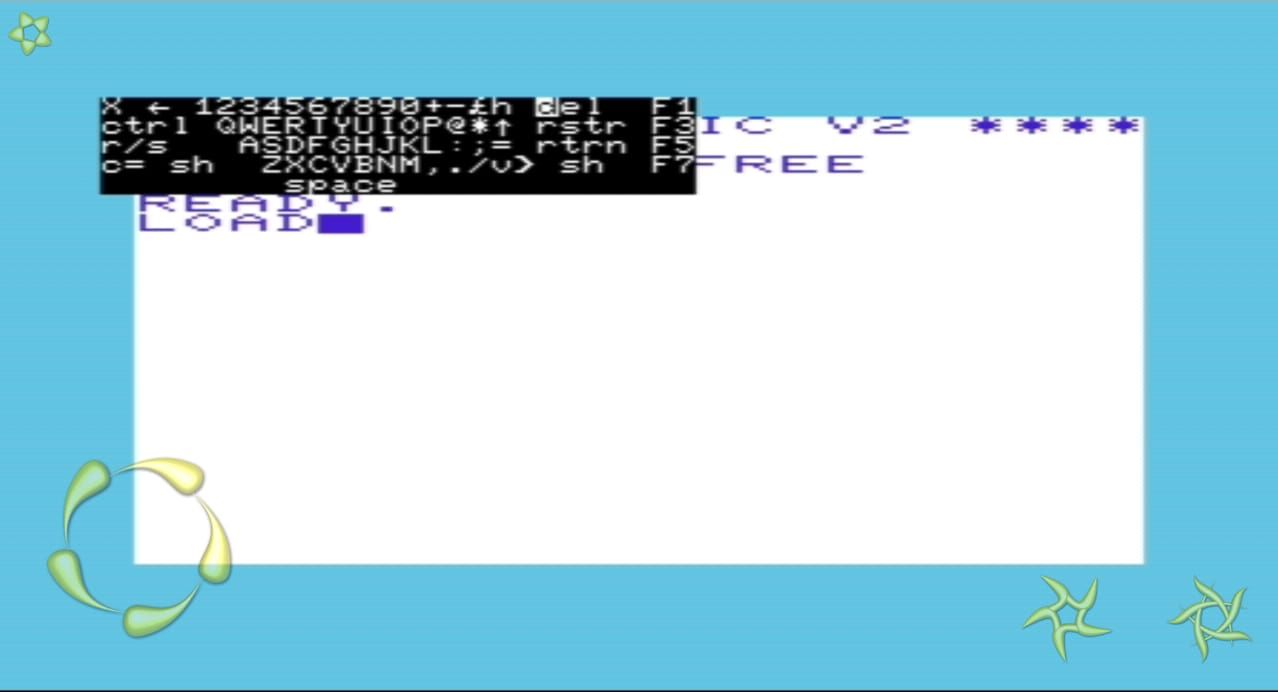
Now the diskette is in the drive, and it come the most difficult part… to type:
LOAD”*”,8 (ENTER)
RUN (ENTER)
 This is difficult because of the special characters ” , and *.
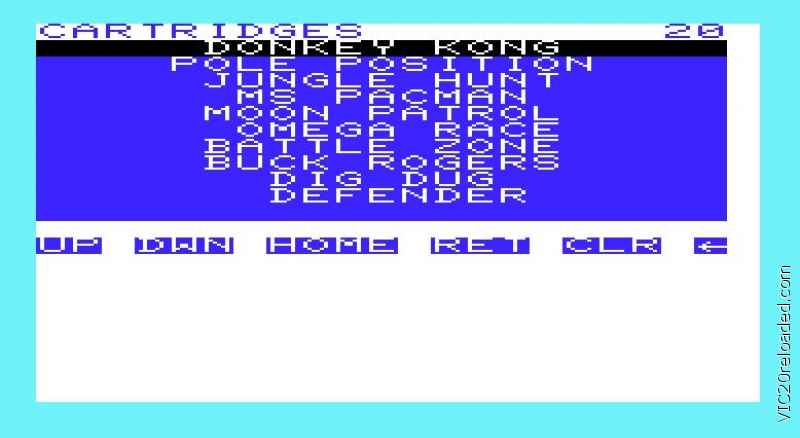
If you did it right, you can now see the diskette menu (or the first game in the disk)
Typing on the virtual commodore keyboard
Here instructions change depending on the specific device, so I will try to give you some indication but you have to find out which one works right for you
- If you have an external keyboard connected: This makes your life easier. Most probably you have a Windows-like keyboard: keys are mapped to commodore keys. Most likely, letters and numbers will be mapped OK, but for special chars it will be a trial-and-error process. Correct keyboard mapping is something which is very difficult to make for technical reasons, I will not go into detail on this here.
- If you are using a touch screen device: Then you will most probably use Android’s on-screen keyboard which will pop up when you tap on the little button drawn in the upper-left corner. Here, the translation between Android keys and commodore keys will be done once the keyboard is closed, so the trial and error process will be more frustrating. Take notes of useful symbol-to-commodore key mappings you find out. As an added help, the onscreen button “1” (rightmost) should work as ENTER, unless it has been remapped.
 Please note that, in addition to the common Android pop-up keyboard, the emulator has its own pop-up commodore keyboard feature named “Virtual keyboard“, drawn in black background and commodore fonts. It could be activated by using onscreen button “2” (leftmost), and once you see the keyboard, you choose the key with the joystick and then virtually press it using the onscreen button “1”. Using Andoid’s (back) control will make the popup keyboard disappear. It’s not handy at all but it might be the only choice for those programs which require pressing the Commodore key or function keys, which do not have any mapping with Android symbols.
As a general suggestion, if you get stuck, reset the emulator as we have seen above: the VICE menu is always accessible using Andoid (back) control.
Once you have been able to LOAD the menu and RUN it, everything should be easy.
Mapping the joystick
On Android cellphones it will be easier to operate the joysick by tapping on the on-screen control (bottom left).
If you are using an Adroid box, then you need to map a few of the keyboard or remote control keys into joystick movement, so that when you use the keyboard or control the emulated VIC wil “think” you are moving the joystick.
So enter the menu (Android’s back button) then
Machine Settings
Joystick Settings
Joystick device in port 1 –> choose Keyset 1
then back to the previous menu, then Define keysets
Now for each direction, you will have to type the keyboard or remote button you want to map to that joystick switch. It will be four directions plus fire.
Please note that, if you are using keys which are necessary in the game such as A, S, D etc. you will not be able to use them by typing on the keyboard, because these keys will be then intercepted before the VIC emulator can see them, and converted into joystick movements.
Please also verify that the Allow keyset joystick is enabled with an asterisk * on its side.
Once the joystick is mapped, you should be able to navigate the menu and choose a game from it by hitting the (virtual) joystick button.
Save settings for a quick start
We have performed a lot of tasks so we don’t want to waste more time next time we want to use our Android emulator.
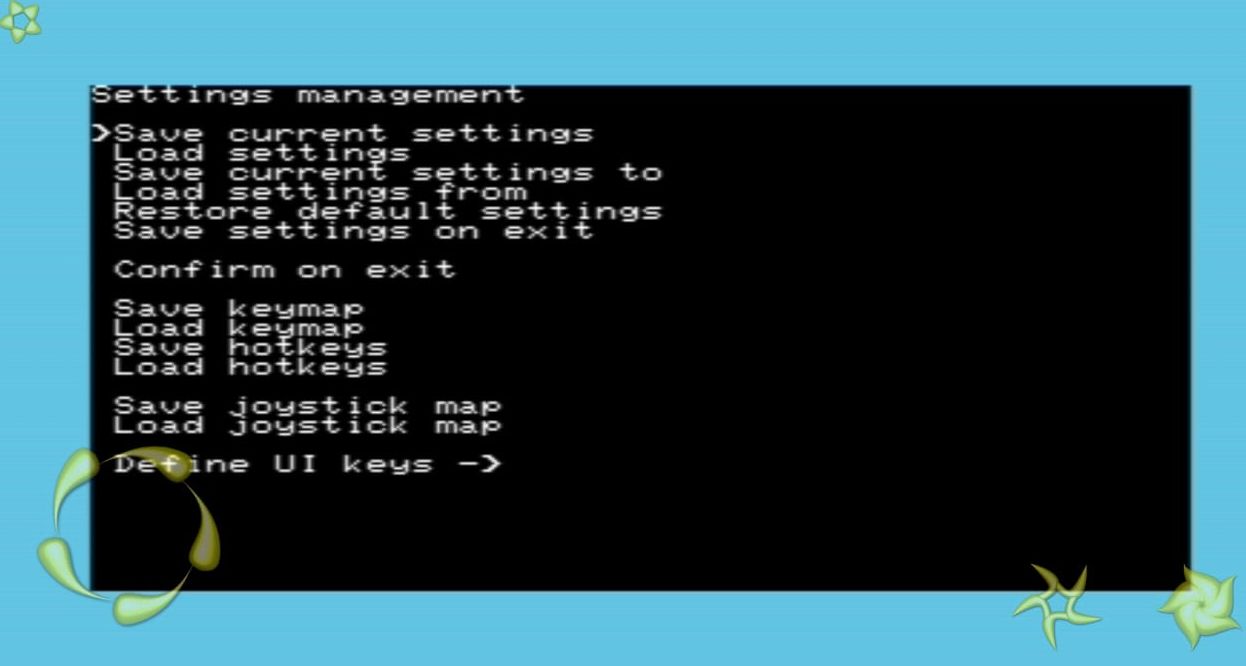 Once you open the emulator menu, go under Settings management.
- Save settings – will save the current emulator settings. These will be loaded at next startup (but not the programs loaded into memory, see Snapshots below). You can quickly restore these ettings using Load settings
- Save current settings to / Load from – Saves and loads settings much like the above but will use a specific file you can name to remember the specific configuration you have prepared such as 16k/24k etc.
Snapshots
We know how hard the old VIC games were. In modern life we don’t have the time to restart a game each and every time so it is very, very handy using Snapshots.
Snapshots are like frozen images of the VIC’s memory, with programs, video contents and everything.
Suppose you reach a point in a game where you know that in a minute or so the chance to loose a life and end game is very high. In a modern game you would save game so that you have a restore point to restart later, but in old VIC games you most likely don’t have this option… so far. Well now, you can do so by getting a Snapshot.
Enter the emulator menu, Snapshot then Quicksave snapshot.
You can later get back that system snapshot with Quickload snapshot
 You can also save snapshot with specific names and recover each of them later selectively.
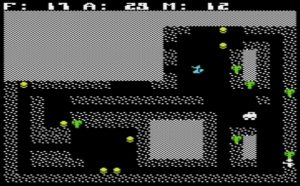
Like this, I was able to play and finish one of my favorite adventure games, Lupo Alberto, across a number of pauses at work.
External configuration menu (remapping)
You will remember that upon app start, you an access a sort of external configuration menu by clicking or tapping in a top “CHANGE DEVICE CONFIGURATION” grey bar at the splash screen.
Inside this menu, you will find a specific menu to customise the “On-screen keyboard“, attention: this term here refers to the set of onscreen virtual joystick + buttons. The appearence of these controls can be changed and also the onscreen buttons can be remapped to specific commodore keys.
The customizer for the onscreen controls is rather counter intuitive: you define the position of each control by drawing them on the screen and you cannot reposition controls. If you make a mistake, do not panic. Restart the app, and just redo the customization until the virtual joystick and the buttons are exactly where you can use them.
In this external menu you also find a handy option named “Remap physical keys” to at least try to correct the mapping between a physical device such as keyboard or remote control, and a key that the emulator can understand. I found more than a few codes such as “WORLD_NN” to be rather obscure and I could not tell which commodore keys they refer to. Also, I coud not find a few keys (such as the C= key) in the list of codes.
 It’s now time to experiment! Don’t let the initial complexity of the menus frighten you, little by little you will get to grips with it.
In a bunch of minutes I was able to play with my wireless keyboard and it was actually a real fun (I even managed to later disable the onscreen controls for a more authentic, classic look), provided that this old 4.4 Android box seemed to be almost completely useless!
Next time I would like to try to connect a physical USB joystick to the box and see if it can work with this. Also, trying a “network” game like we have seen here, with a second emulated VIC on the same LAN would be worth to try.
Let us know if you liked this tutorial by giving a star rating, or leave comment. You can also Subscribe to new posts using our email notification feature.
